Unleashing a child’s creativity is one of the most rewarding experiences, and there’s no better way to do it than through the magic of crafting! While paints and slime often come to mind, and bead crafts offer fantastic fun, there’s another incredibly exciting and personalized project that results in wearable art: decorating shoes! Imagine your child’s delight in sporting sneakers they’ve designed themselves – a true testament to their unique style and artistic flair.
This guide is all about transforming plain canvas shoes into masterpieces, fostering confidence, and, most importantly, having a blast making something truly one-of-a-kind.
Why Decorate Shoes? The Benefits of Wearable Art
Beyond the sheer joy of creating, decorating shoes offers a unique blend of practical and developmental benefits for children:
- A Boost of Accomplishment: There’s an immense sense of pride that comes from wearing something you’ve made. Every step becomes a reminder of their hard work and creativity.
- Handy & Useful: Unlike many crafts that might end up in a drawer, decorated shoes become a functional, everyday item. This reinforces the value of their creative efforts.
- Unleashing Creativity: From choosing colors to sketching designs, this project encourages children to think outside the box and express their personality.
- Personalized Style: In a world of mass-produced items, custom shoes allow kids to showcase their individuality and stand out from the crowd.
The best part? This concept isn’t limited to just shoes! The same techniques can be applied to other everyday items like T-shirts, hats, and backpacks, turning ordinary items into extraordinary canvases. Imagine your child proudly wearing a shirt signed by all their friends at the end of a school year or summer camp – a cherished keepsake of memories made.
Getting Started: Prepping Your Canvas (The Shoes!)
Like any great artist knows, preparation is key! Setting up your workspace and your “canvas” correctly will ensure a smoother, more enjoyable experience for everyone.
- Choose the Right Shoes: The ideal starting point for this craft is canvas shoes. Their fabric surface readily absorbs paints and markers, providing an excellent base for vibrant designs. Old, clean sneakers work perfectly, or you can pick up an inexpensive plain pair from a craft store or discount retailer.
- Clean the Shoes Thoroughly: Before any artistic magic begins, make sure the shoes are clean and dry. Any dirt, dust, or residue can prevent paints and markers from adhering properly, leading to a less vibrant or durable design. A quick wipe with a damp cloth and then allowing them to air dry completely is usually all it takes.
- Sketch Your Design (Pencil Power!): This is where the vision comes to life! Lightly sketch your design onto the shoe using a pencil. This crucial step allows for easy corrections and adjustments before you commit with permanent markers or paint. Encourage your child to experiment with different ideas. Does one side of the shoe tell a story, while the other side shows a different scene?
Unleashing Creativity: Decorating Techniques
Now for the fun part – adding color and life to those plain shoes! There are a few fantastic mediums that work wonderfully for fabric.
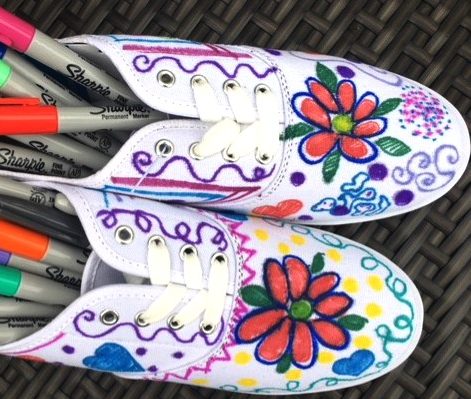
- Fabric Markers: For Detail and Precision: Fabric markers are excellent for adding intricate details, outlines, and crisp lines. When using them, encourage your child to use short, controlled strokes to avoid bleeding, especially if they’re working on a detailed section. We recommend this approach for cleaner lines. They dry quickly, making them less messy than paints for certain designs.
- Acrylic Paints: For Vibrant Coverage and Bold Statements: Acrylic paints are a versatile and popular choice for painting shoes. They offer good coverage for larger areas and are known for their durability once dry and sealed. You can use brushes of various sizes to fill in areas, create gradients, or even stamp designs.
- Consider Color and Pattern: This is where your child’s personality truly shines! Encourage them to think about their favorite patterns, colors, or themes when designing. Do they love animals, superheroes, polka dots, or rainbows? This is their chance to put it all on their feet!
- Optional Technique: The Sharpie and Alcohol Blend: For a really cool, watercolor-like effect, try the Sharpie and alcohol technique. Kids can color sections with permanent markers (like Sharpies), and then you (the adult) can carefully drip or dab rubbing alcohol onto the colored areas. The alcohol will cause the ink to spread and blur, creating beautiful, blended patterns. Always do a small test patch first and ensure good ventilation.
The Grand Finale: Finishing Touches
Once the artistic creation is complete, a few final steps will ensure their masterpiece lasts and is ready to be worn!
- Let the Shoes Dry COMPLETELY: Patience is key here! Before moving to the next step, ensure the shoes are completely dry. This can take several hours, depending on the amount of paint or marker used. Rushing this step can lead to smudging or issues with the sealant.
- Seal the Design for Durability: To protect their amazing artwork from the elements and everyday wear, it’s essential to apply a coat of clear varnish or a waterproof spray. Look for products specifically designed for fabric or shoes at your local craft store. Follow the product instructions for application and drying times. This step will make their designs more durable and less likely to fade or rub off.
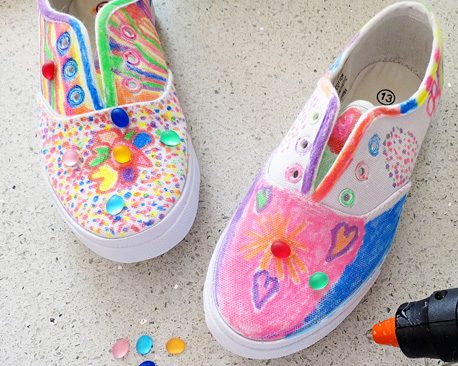
- Optional Embellishments: Want to add some extra sparkle or texture? Once the sealant is dry, add jewels, glitter, fabric patches, or other decorative elements using strong craft glue. This is a great way to add a bit of “bling” and make the shoes truly unique.
- Re-thread the Laces: The final touch! Once everything is dry and secured, replace the laces. Now, step back and admire the finished, personalized shoes! The moment your child laces up their custom-designed sneakers for the first time is truly magical
Sparking Inspiration: Design Ideas Galore!
Sometimes, a blank canvas can be daunting. Here are some ideas to jumpstart your child’s imagination, but always encourage them to make the design their own!
- Nature-Inspired: Incorporate leaves, flowers, whimsical trees, or even tiny ladybugs and butterflies.
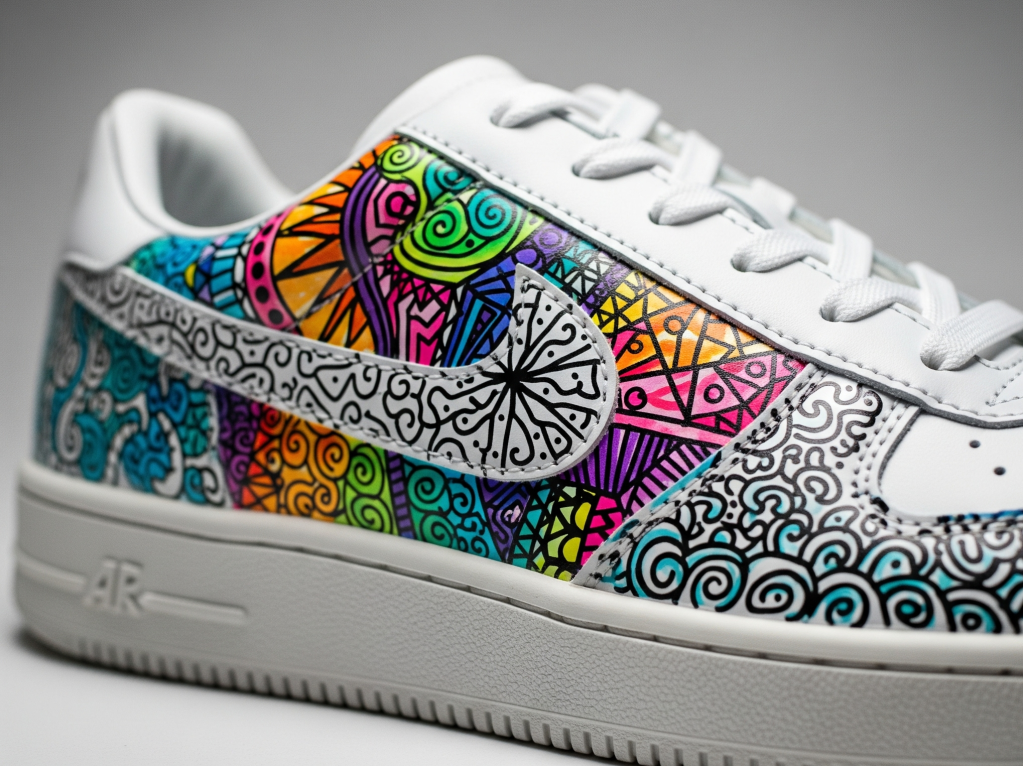
- Pop Art Power: Experiment with bold colors, thick outlines, and comic-book-style elements for a vibrant pop art look.
- Geometric Shapes: Use squares, circles, triangles, and lines to create modern, abstract, or even kaleidoscopic patterns.
- Story Shoes: Encourage them to tell a story across the two shoes – a favorite adventure, a day at the park, or a dream world.
Remember, these are just starting points. The real magic happens when kids are given the freedom to explore and express their inner artist. So, gather your supplies, find an old pair of shoes, and get ready to step into a world of creative fun!
What design do you think your child would choose first?

Leave a comment